The Solar Panel Installation Process: A Step-by-Step Guide
The solar panel installation process is quite complex, involving many steps before placing the panels on the roof. The process begins months earlier, with drone visits on your property. Usually, the installation takes place 6 months after the contract has been signed. That is why you must begin your consultation in the winter if you want your solar panels installed in the spring or summer.
Here’s a behind-the-scenes look at what happens during a typical solar panel installation.
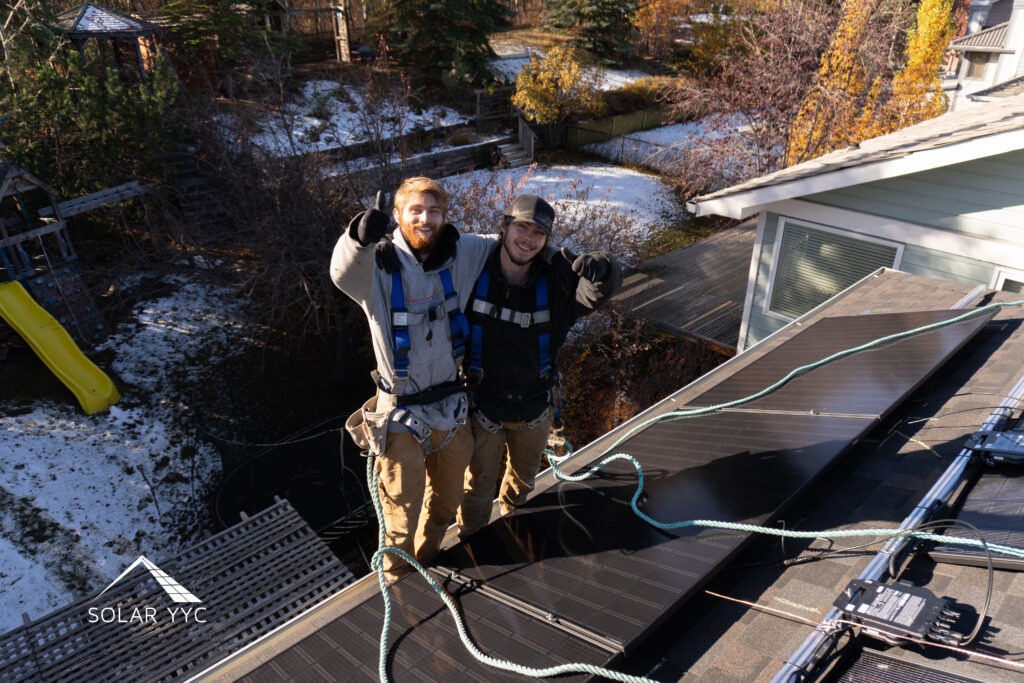
1. Arrival and Site Assessment
The installation crew arrives on-site and begins with a job hazard assessment. This ensures the worksite is safe and potential risks are identified before the team starts work. They also take time to introduce themselves to the homeowner and conduct a walk-around inspection of the site to confirm everything is in order.
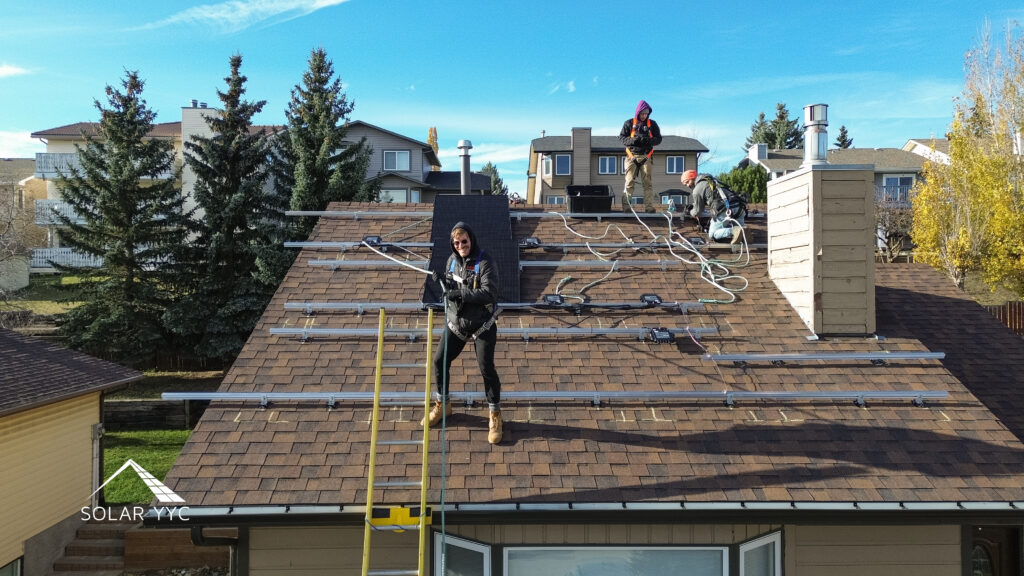
2. Roof Preparation and Layout
Once the initial assessment is complete, the roof crew accesses the roof. They start by:
- Marking the layout for the solar arrays with chalk.
- Locating and marking the roof trusses to ensure secure mounting.
- Installing the mounting feet, typically starting with Roof Tech feet followed by L-feet.
- Installing the rails, which act as the foundation for the solar panels.
Once the rails are properly installed and levelled, the inverters are mounted in their designated locations.
3. Electrical Work: Running the Wiring
While the roof crew works on panel placement, the electricians will work on powering all the inverters:
- Connecting the main trunk cable to all the inverters.
- Running conduit along the house exterior and into the attic to guide the wiring connecting the electrical room with the trunk cable.
- Drilling a pass-through hole in the roof where the trunk cable will connect to the wiring in the attic.
- Sealing and protecting the pass-through hole with a protective box.
This step ensures that the energy collected by the solar panels can be safely transmitted to the home’s electrical system.
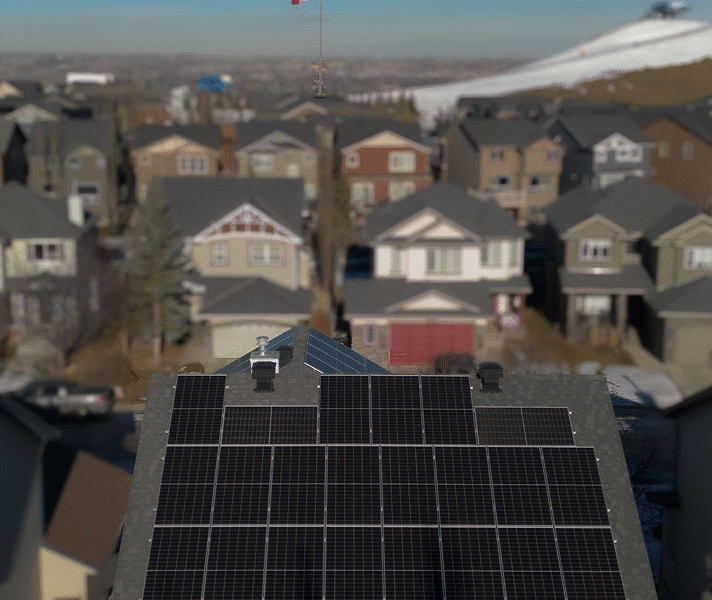
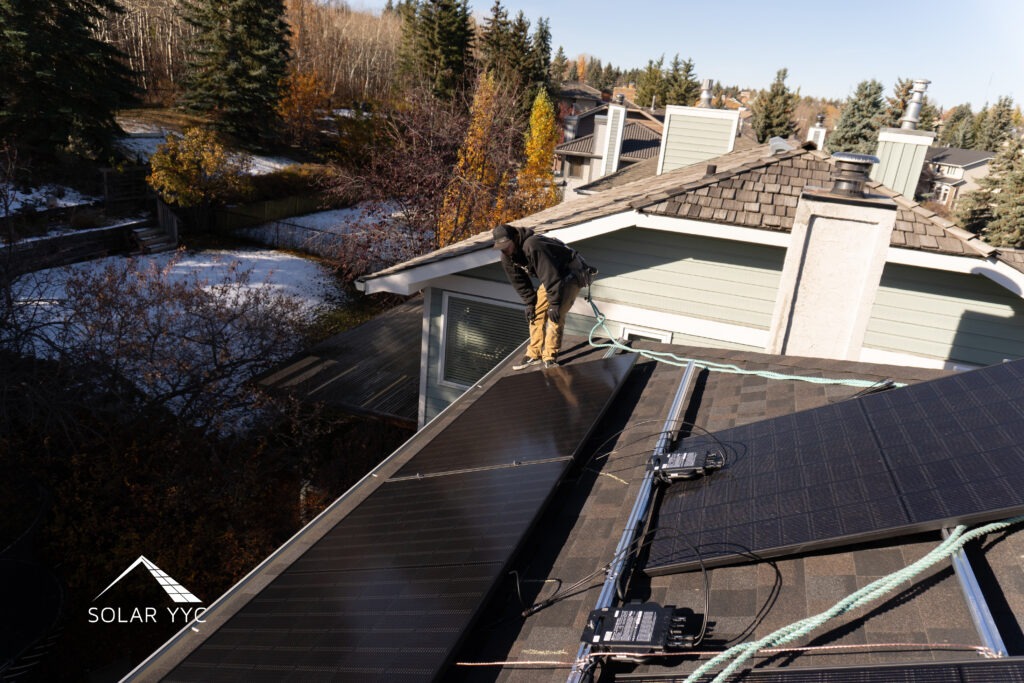
4. Panel Installation
With the wiring in place, the team can now begin installing the solar panels:
- Lifting panels onto the roof, panels weigh between 50 and 70 lbs.
- Aligning and securing the panels onto the pre-installed rails.
- Connecting the wiring, ensuring all electrical components are correctly plugged in.
- Using zip ties to organize and secure all cables, preventing them from hanging loosely on the roof.
- Attaching the critter guard around the edges of the solar arrays.
This step can be straightforward on simple roof layouts but becomes challenging when panels need to be placed on multiple arrays on roof faces or garage structures.
5. System Commissioning and Testing
Once all panels are in place, the system is nearly ready to generate electricity. Before leaving, the crew performs the final steps:
- Connecting the wiring to the electrical panel inside the house.
- Commissioning the system involves testing and verifying that all components function correctly.
- Using the APSystems app to register each inverter on the map and ensure everything is connected to the internet.
6. Final Steps and Cleanup
With the system now operational, the installation crew cleans up the worksite, removes ladders, and leaves the area tidy. Before leaving, they inform the homeowner about the upcoming system inspection and how to monitor their system using the app.
How Long Does It Take?
The duration of the installation depends on the project’s complexity (e.g., the number of arrays and the roof’s steepness).
- The process usually takes one day for a simple layout with 20 or fewer panels on one or two roof faces.
- More complex installations involving multiple roof faces or detached garages may take two to three days.
Challenges and Considerations
Installing solar panels is a physically demanding job. Each panel weighs between 50 and 70 pounds, and carrying them up ladders onto a sloped roof requires strength and endurance.
Weather conditions also play a role. Cold temperatures can make suction cups less effective for lifting panels, and high winds present challenges when securing equipment.
Conclusion
A solar installation is a carefully coordinated process that combines safety, technical skill, and teamwork. Every step, from the initial assessment to system activation, is crucial in ensuring a reliable and efficient solar energy system for the homeowner.
If you’re considering switching to solar, understanding the installation process can help you appreciate the level of expertise that goes into making your system function seamlessly!
Ready to explore your solar options? Contact us today for a free consultation, and let’s build a system that works for you.